
Picture this: You’re standing in your kitchen, spoon in hand, staring at a tub of store-bought cottage cheese. It’s bland, a little watery, and you wonder—could you make something creamier, fresher, and just plain better? If you’ve ever wished for a cottage cheese that actually tastes like something, you’re in the right place. DIY cottage cheese isn’t just possible—it’s surprisingly easy, and the results will make you question why you ever settled for the supermarket stuff.
Why Make DIY Cottage Cheese?
Let’s be honest. Most store-bought cottage cheese tastes like it’s been sitting in a fridge for weeks. When you make your own, you control the flavor, texture, and even the fat content. Plus, you skip the weird additives and get a protein-packed snack that’s as fresh as it gets. If you love experimenting in the kitchen or just want to eat better, DIY cottage cheese is a game-changer.
What You’ll Need
Here’s the part nobody tells you: You don’t need fancy equipment or rare ingredients. You probably have everything already.
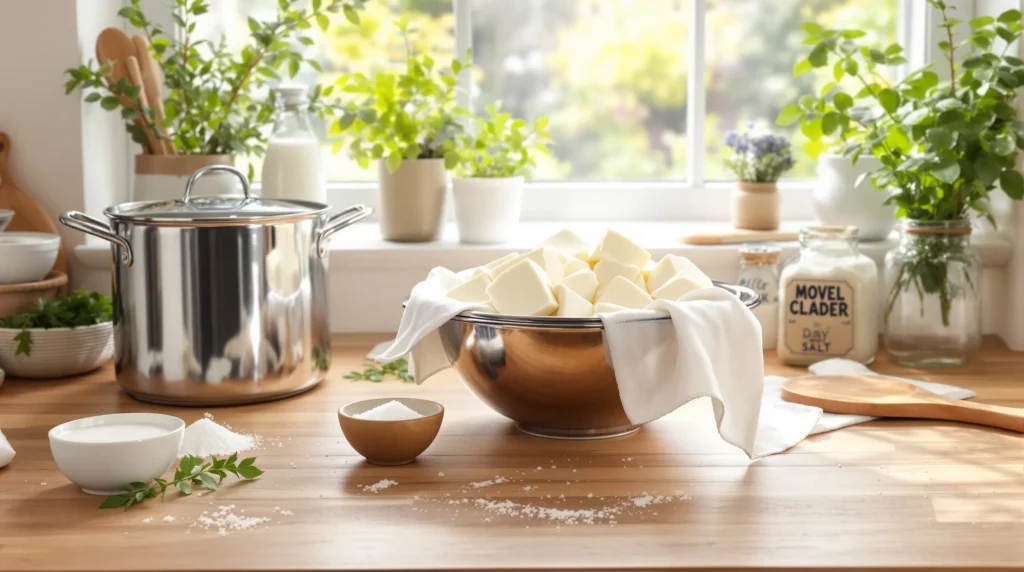
- 1 gallon whole milk (the fresher, the better)
- 1/4 cup white vinegar or lemon juice
- 1 teaspoon salt (optional, but recommended)
- 1/2 cup heavy cream (for extra creaminess)
- Large pot
- Thermometer (helpful, but not required)
- Colander and cheesecloth or a clean kitchen towel
- Large spoon
If you’re lactose intolerant, you can use lactose-free milk. Just avoid ultra-pasteurized milk—it won’t curdle properly.
Step-By-Step: How to Make DIY Cottage Cheese
Step 1: Heat the Milk
Pour the milk into your pot and set it over medium heat. Stir gently to keep it from scorching. If you have a thermometer, heat the milk to about 120°F (49°C). If not, just heat until it’s hot but not boiling—think a warm bath, not a hot tub.
Step 2: Add Acid and Watch the Magic
Turn off the heat. Slowly pour in the vinegar or lemon juice while stirring. You’ll see the milk separate into curds and whey almost instantly. If nothing happens, add a bit more acid, one tablespoon at a time. Let it sit for 5-10 minutes. The curds should look like soft, lumpy clouds.
Step 3: Strain the Curds
Line your colander with cheesecloth and set it over a bowl or the sink. Gently pour in the curds and whey. Let it drain for 5 minutes for a moist cottage cheese, or up to 20 minutes for a drier texture. Don’t squeeze—just let gravity do the work.
Step 4: Rinse and Salt
Gather the cheesecloth and rinse the curds under cold water. This stops the cooking and washes away extra acidity. Squeeze gently to remove excess water. Sprinkle with salt and toss to combine. Taste as you go—this is your cottage cheese, so make it how you like it.
Step 5: Add Cream (Optional, but Highly Recommended)
Transfer the curds to a bowl and stir in the heavy cream. This is the secret to that rich, creamy texture you crave. Start with a few tablespoons and add more if you want it silkier. If you’re watching calories, you can skip this step, but trust me—your taste buds will thank you.
Tips for Perfect DIY Cottage Cheese
- Use fresh milk: The fresher the milk, the better the flavor.
- Don’t overheat: Too much heat makes rubbery curds. Keep it gentle.
- Experiment with acids: Lemon juice gives a brighter flavor, while vinegar is more neutral.
- Customize the salt: Start small and add more to taste.
- Try add-ins: Chopped herbs, cracked pepper, or even a drizzle of honey can take your DIY cottage cheese to the next level.
Who Should Try DIY Cottage Cheese?
If you love fresh, homemade food and aren’t afraid to get your hands a little messy, this is for you. DIY cottage cheese is perfect for meal preppers, protein lovers, and anyone who wants to control what goes into their food. If you hate the idea of waiting 10 minutes for cheese, or you’re allergic to dairy, this might not be your jam. But for everyone else, it’s a simple way to upgrade your snacks and meals.
Common Mistakes (And How to Fix Them)
- Curds too small? The milk was probably too hot. Next time, heat it more gently.
- Curds too dry? You drained them too long. Add more cream to fix it.
- No curds at all? Check your milk—ultra-pasteurized won’t work. Try a different brand.
I’ve made every mistake in the book. Once, I forgot to add salt and ended up with bland, sad cheese. Another time, I used old milk and the flavor was off. The good news? Even the “failures” are edible, and you’ll get better every time.
How to Store and Use Your DIY Cottage Cheese
Store your cottage cheese in an airtight container in the fridge. It’ll keep for up to five days, but it’s best within the first two. Stir before serving, as the cream can separate. Use it in salads, on toast, with fruit, or straight from the spoon. If you’re feeling fancy, try it in pancakes or lasagna for extra richness.
Why DIY Cottage Cheese Tastes Better
Here’s why homemade wins: You get real flavor, real texture, and none of the weird aftertaste. You can make it as creamy or as chunky as you want. Plus, there’s something satisfying about making cheese from scratch. It’s a small act of rebellion against bland, mass-produced food.
Final Thoughts: Is DIY Cottage Cheese Worth It?
If you’ve ever wondered if you could make your own cottage cheese, the answer is yes—and it’s easier than you think. DIY cottage cheese gives you control, freshness, and flavor you can’t buy in a tub. The first bite will surprise you. The second will make you a believer. Give it a try, and you might never go back to store-bought again.