
Picture this: You’re standing in your kitchen, hands sticky with sap, petals scattered across the counter, and a wild grin on your face. You just made your first diy flower arrangement, and it actually looks…amazing. Not like the lopsided bouquets you see at the grocery store, but something that feels alive, personal, and a little bit rebellious. If you’ve ever thought, “I could never do that,” you’re in the right place. This guide is for anyone who’s ever wanted to bring a little more color into their life—without spending a fortune or pretending to be Martha Stewart.
Why DIY Flower Arrangements Matter
Let’s be honest: store-bought bouquets can feel generic. They’re pretty, sure, but they rarely capture your personality or the mood you want to set. Making your own diy flower arrangement lets you tell a story—your story. Maybe you want to celebrate a friend’s new job with sunflowers and wild daisies, or maybe you just want to brighten up your Monday with a handful of tulips and eucalyptus. The point is, you get to choose. And that’s powerful.
Who Should Try DIY Flower Arranging?
If you love getting your hands dirty, crave a creative outlet, or just want to save money, diy flower arranging is for you. It’s not for perfectionists who panic over a crooked stem. It’s for people who like happy accidents, who see beauty in the unexpected. If you’ve ever felt intimidated by those flawless Instagram bouquets, here’s the part nobody tells you: most of them are held together with tape, wire, and a little bit of panic. You don’t need fancy tools or a degree in botany. You just need curiosity and a willingness to play.
Gathering Your DIY Flower Supplies
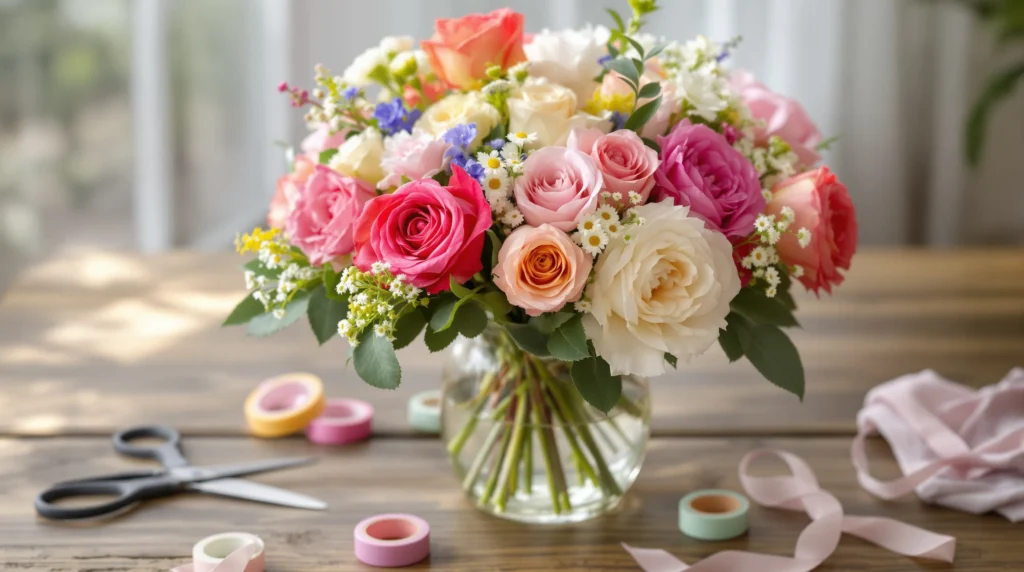
Before you start, let’s talk tools. You don’t need a florist’s arsenal, but a few basics help:
- Sharp scissors or floral shears
- A clean vase or jar (mason jars work great)
- Fresh water
- Flower food (or a pinch of sugar and a drop of bleach)
- Twine or floral tape (optional, for structure)
For flowers, start simple. Grab a bunch from the farmer’s market, your backyard, or even the grocery store. Look for a mix of shapes and textures: big blooms (like roses or peonies), filler flowers (baby’s breath, statice), and greenery (ferns, eucalyptus). If you’re feeling bold, add something unexpected—herbs, berries, or even a sprig of lavender.
Choosing the Right Flowers for Your Arrangement
Here’s where most people freeze. “What if I pick the wrong flowers?” Relax. There’s no wrong answer. But here’s a trick: stick to three main types for your diy flower arrangement:
- Focal flowers: These are your stars—think sunflowers, lilies, or dahlias.
- Secondary flowers: Smaller blooms that support the focal flowers, like spray roses or carnations.
- Filler and greenery: These add texture and fill gaps—think eucalyptus, ferns, or waxflower.
Mix colors and textures, but don’t overthink it. If you love it, it works. If you’re stuck, try a monochrome palette—different shades of the same color always look chic.
Step-by-Step: How to Make a DIY Flower Arrangement
Step 1: Prep Your Flowers
Strip leaves from the bottom half of each stem. Cut stems at a 45-degree angle under running water. This helps them drink up more water and last longer. If you skip this, your flowers will wilt fast—trust me, I’ve learned the hard way.
Step 2: Build Your Base
Fill your vase with fresh water and flower food. Start with greenery, crisscrossing stems to create a loose grid. This gives your diy flower arrangement structure and helps the blooms stand up straight.
Step 3: Add Focal Flowers
Place your biggest, boldest flowers first. Don’t crowd them—let each one breathe. Turn the vase as you go, so it looks good from every angle. If you’re feeling stuck, step back and squint. If it looks balanced, you’re on the right track.
Step 4: Layer in Secondary Flowers
Fill in around your focal blooms with smaller flowers. Vary the heights a little for a natural, wild look. If you want a more formal vibe, keep everything even. There’s no right or wrong—just what feels good to you.
Step 5: Finish with Filler
Tuck in sprigs of greenery or filler flowers to fill any gaps. This is where your diy flower arrangement comes to life. Don’t be afraid to let some stems stick out or droop a little. Perfection is overrated.
Common Mistakes (And How to Fix Them)
- Too many flowers: Crowding makes arrangements look stiff. Edit ruthlessly.
- Ignoring water: Change the water every two days. Wilted flowers are sad flowers.
- Forgetting to trim stems: Flowers drink better with fresh cuts. Snip a little every few days.
- Sticking to one height: Vary stem lengths for movement and interest.
If you mess up, don’t stress. Pull everything out and start again. Some of my best diy flower arrangements happened after a total flop.
Creative Ideas to Make Your DIY Flower Arrangements Stand Out
- Mix in unexpected elements: herbs, fruit branches, or even feathers
- Use vintage teacups, pitchers, or tin cans as vases
- Try a single-flower arrangement for a modern look
- Go seasonal—think daffodils in spring, sunflowers in summer, mums in fall
Here’s why this matters: your diy flower arrangement should feel like you. Don’t copy Pinterest. Steal ideas, sure, but add your own twist. That’s where the magic happens.
How to Make Your DIY Flower Arrangements Last Longer
Want your flowers to stay fresh? Here’s what works:
- Keep them out of direct sunlight and away from fruit (fruit gives off ethylene gas that speeds up wilting)
- Change the water every two days
- Trim stems regularly
- Add a drop of bleach or a penny to the water to fight bacteria
It’s not rocket science, but it does make a difference. I once kept a bouquet alive for two weeks just by changing the water and snipping the stems every other day. Try it—you’ll be surprised.
Final Thoughts: Why DIY Flower Arranging Is Worth It
If you’ve made it this far, you’re probably itching to grab some flowers and start arranging. That’s the point. Diy flower arranging isn’t about perfection—it’s about play, discovery, and making something beautiful with your own hands. You’ll mess up. You’ll learn. And you’ll end up with a diy flower arrangement that’s uniquely yours. So go ahead—get your hands dirty, trust your instincts, and let your creativity bloom.