
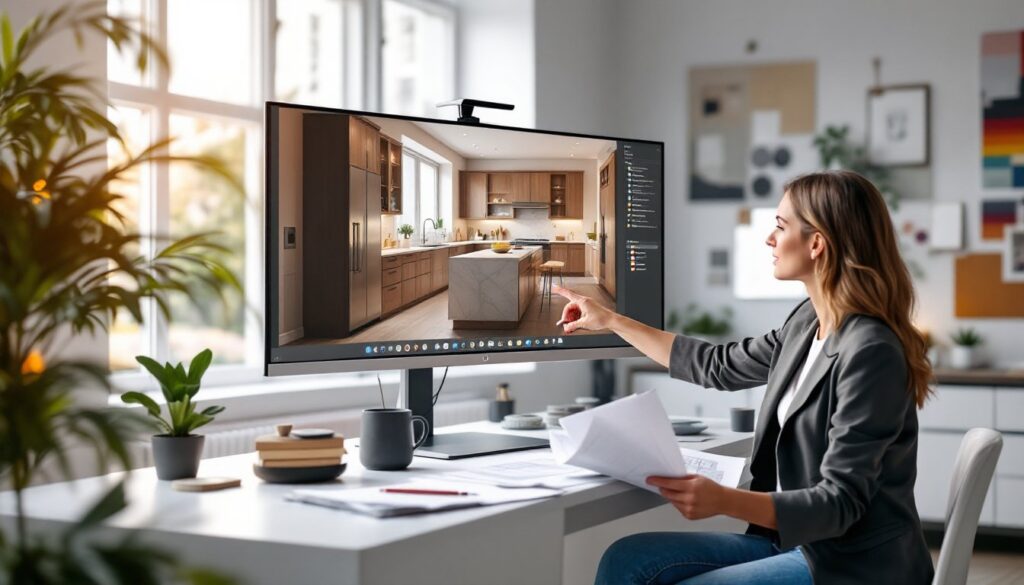
Whether planning a kitchen remodel or redesigning an entire living room, homeowners and designers face the same challenge: visualizing a space before breaking ground. That’s where 3D rendering for interior design comes in. Instead of squinting at flat sketches or trying to imagine how a new layout will look, clients can now see photorealistic previews of their finished project from every angle. This technology has shifted from a luxury tool for high-end firms to an accessible solution that saves time, money, and prevents costly mistakes. For DIYers tackling their own interior projects or designers working with clients, understanding how 3D rendering works and what it offers can transform the entire design process.
Key Takeaways
- 3D rendering for interior design has become essential for visualizing spaces accurately, eliminating miscommunication between clients and designers about colors, materials, and proportions.
- Using 3D rendering catches design flaws early and prevents costly mistakes—potentially saving 10–15% in rework and material waste during renovations.
- Popular 3D rendering tools like SketchUp, Blender, and Autodesk 3ds Max offer options for different budgets and skill levels, from DIY homeowners to professional designers.
- Photorealistic renders require careful attention to materials, textures, and lighting—not automatic features—so plan 40–100 hours of practice to achieve professional quality results.
- Rendering serves as a powerful communication and sales tool, allowing remote collaboration and building client confidence by demonstrating the designer’s vision before construction begins.
Why 3D Rendering Has Become Essential in Interior Design
Five years ago, most interior design work relied on hand sketches, mood boards, and 2D floor plans. Today, photorealistic 3D renders are standard practice. Here’s why: a 2D drawing leaves room for interpretation. A client might imagine a navy accent wall as midnight, while the designer intended something closer to slate. A 3D render removes that gap entirely, everyone sees the same colors, materials, proportions, and lighting from the same perspective.
The shift also reflects changing client expectations. People research design online constantly, scrolling through Before/After photos and polished Instagram renovations. They want proof that their designer understands their vision, not promises on a napkin. A rendered image demonstrates competence and commitment. It also acts as a contract-level communication tool: disputes over whether a countertop looked “right” are resolved before purchase orders are signed.
For DIY homeowners, rendering software lets them test ideas at home without hiring a professional. Want to see how a particular tile layout looks before ordering materials? Render it. Curious whether your new furniture arrangement makes the room feel cramped? Model it. This confidence reduces buyer’s remorse and helps allocate the budget wisely.
The Key Benefits of 3D Rendering for Designers and Clients
Cost Savings and Design Accuracy
3D rendering catches design problems early, when changes are cheap. Imagine discovering mid-project that your island is too wide, or that the new sofa swallows the room. A render reveals these issues before contractors order materials or cut lumber. Reconfiguring a digital model takes minutes: reconfiguring a built space costs thousands and adds weeks to the timeline.
Rendering also prevents color and finish mismatches. Paint samples and small material chips are notoriously difficult to judge under showroom lighting. A photorealistic render places finishes in the actual space under realistic lighting conditions. Clients see how that matte black cabinet finish reads against natural daylight or warm accent lighting. They spot clashing undertones or unexpected reflectivity before committing to materials. Over the course of a full renovation, this accuracy alone can save 10–15% in rework and material waste.
For custom cabinetry, tile layouts, or built-ins, rendering prevents expensive ordering mistakes. A kitchen with 36 linear feet of cabinetry isn’t something you can simply swap out. A 3D model forces precise measurement and layout planning, catching off-by-a-few-inches errors that a hand sketch would let slip.
Enhanced Client Communication and Visualization
Clients who’ve never managed a renovation struggle to understand drawings. A floor plan and elevation are valuable tools for professionals, but to a homeowner, they’re abstract. A 3D render is intuitive: it looks like a photograph of the finished space. No translation required. This clarity reduces scope creep and misaligned expectations, which are the leading causes of renovation stress and dispute.
Renders also serve as a powerful sales tool for designers. When pitching design concepts to potential clients, a single photorealistic image conveys more authority and vision than a portfolio of flat sketches. It proves the designer thinks in three dimensions and understands how lighting, color, and proportion interact. This confidence typically justifies higher design fees and attracts clients willing to invest in quality.
For remote collaboration, renders are invaluable. A designer in Boston can send a client in Denver three rendering options, and they’ll discuss specifics from the same visual reference. Video walkthroughs of a rendered space let clients explore a room from different vantage points, almost like an in-person viewing. This reduces the need for multiple meetings and speeds decision-making.
Popular 3D Rendering Software for Interior Designers
The market offers options across different skill levels and budgets. SketchUp with V-Ray or Lumion remains a workhorse for many designers. It’s intuitive for 2D planning but powerful enough for photorealistic rendering with the right add-ons. The learning curve is manageable, and the user community is enormous.
Autodesk 3ds Max is industry-standard for high-end, photorealistic work. It’s pricier and steeper to learn, but offers unmatched control over materials, lighting, and rendering engines like Corona or V-Ray. Most architectural visualization studios use it.
Blender is free and increasingly capable. It’s open-source, has a strong community, and its Cycles and Eevee render engines produce professional-quality results. The interface is less intuitive than SketchUp, but tutorials abound.
ArchiCAD and Revit are BIM-focused tools that generate renders alongside technical documentation. They excel for full-house renovation planning where code compliance and structural coordination matter.
For quick, web-based options, tools like Roomtodine or Wayfair’s room designer let homeowners experiment without software installation, though they’re less customizable than desktop applications. Many softwares now bundle render engines or cloud rendering services, so processing time isn’t a barrier even on modest computers.
What to Look For in Rendering Technology
Not all rendering software is equal. Start with ease of use relative to your experience. If you’re new to 3D work, SketchUp or Blender’s interface matters more than raw power. If you’re already modeling in CAD, transitioning to a sister platform (like Revit users moving to 3ds Max) reduces friction.
Consider material libraries. Good software ships with realistic materials for wood, stone, metal, and fabric. Building a custom material library takes time, so robust presets save hours. Similarly, check whether the software integrates with online asset libraries (3D models of furniture, fixtures, plants) to avoid building every object from scratch.
Render speed affects workflow. Real-time engines like Unreal or Unity are fast but may sacrifice some photorealism. Path-tracing engines (V-Ray, Corona, Cycles) are slower but produce flawless results. For client presentations, slower is fine: for iterative design, real-time feedback matters.
Lighting tools are critical. Photorealistic rendering hinges on accurate light simulation. Look for software that handles natural daylight, artificial fixtures, and indirect bounce light realistically. This separates professional renders from amateurish ones.
Finally, hardware requirements matter. High-quality rendering can demand significant GPU or CPU power. Some tools offer cloud rendering (outsourcing the heavy lifting to online servers), which keeps your computer free while renders process in the background.
Common Challenges and How to Overcome Them
Modeling accuracy is the biggest pitfall. A render is only as good as the underlying 3D model. If you model a room with a 10-foot ceiling but your actual space is 9 feet 6 inches, the proportions will feel subtly wrong to viewers. Always measure twice. For renovation work, include existing furniture or fixtures in your model to calibrate scale.
Unrealistic expectations are common with beginner renders. Photorealistic rendering isn’t automatic: it requires deliberate work on materials, textures, and lighting. A model with default gray materials and flat lighting will look flat and unconvincing. Budget time to refine finishes and set up proper three-point lighting (key light, fill light, backlight) to approach photoreal quality.
Client misinterpretation happens when a render looks “better” than reality will. Warm lighting and ideal furniture placement can make a small room feel spacious. Be transparent: show the render alongside straight photography of the existing space so clients understand what’s been changed versus enhanced by the render’s lighting. Include a few render variations at different times of day or with different furniture styles so clients see options, not false promises.
Software learning curve stops many DIYers from trying 3D rendering. Reality check: learning rendering takes 40–100 hours of practice to reach competence. If you’re a casual DIYer, web-based tools or hiring a rendering artist may be wiser than investing in professional software. If you’re a designer or serious remodeler, the investment pays for itself quickly.
Hardware constraints mean older computers struggle. Cloud rendering services bypass this, but they add cost and upload/download time. Test the software on your hardware before committing to a tool.